Maker Monday: Kids can make shoebox shadow puppets
This fun Maker Monday STEAM activity — shoebox shadow puppets — can bring hours of fun. Once kids create their shoebox theater, they can make up endless stories and add new characters as they imagine them.
Our former editor, Sally Quinn, found everything she and her grandkids needed in their kitchen and cardboard recycling bin.
Begin by having kids imagine a story they want to tell and think about characters and scenery. Once they get started, it’s always entertaining to watch their ideas develop.
You’ll find all the details on materials and instructions right here. A note to kid makers: Please work with a parent or caregiver on every project and always be very careful when using tools of any kind.
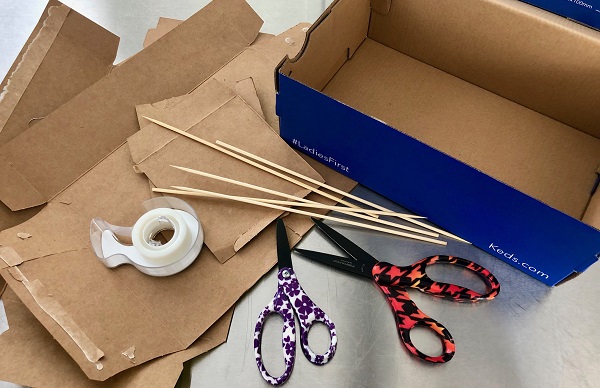
Maker Monday materials you’ll need:
- an empty shoebox
- thin cardboard for the shadow figures (an empty cereal box or an empty carton of soft drink cans would be perfect, since they’re easy to cut)
- scissors
- tape
- a sheet of basic printer paper
- pencils or markers
- bamboo skewers (available at dollar stores or grocery stores)
- a straight-edge knife (for grownups only)
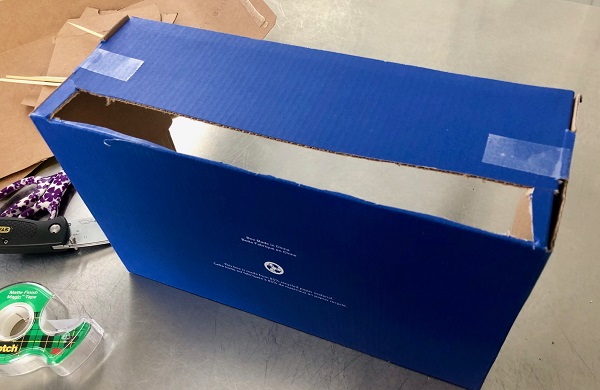
STEP 1: Begin with the shoebox. Have a grownup use a straight-edge knife to cut along one of the bottom edges of the box, then up about 2 inches, leaving an inch or so on each end (see above). This space is where you will slide your puppets into the “theater.” The closer the puppets are to the screen, the better their shadows will be.
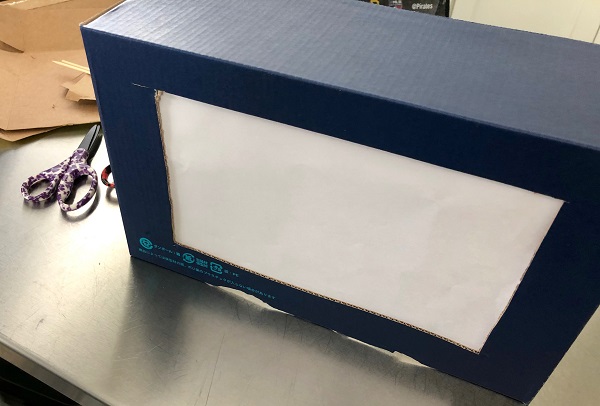
STEP 2: Turn the shoebox bottom side up. Cut out a rectangle, leaving an inch or two of cardboard all around it.
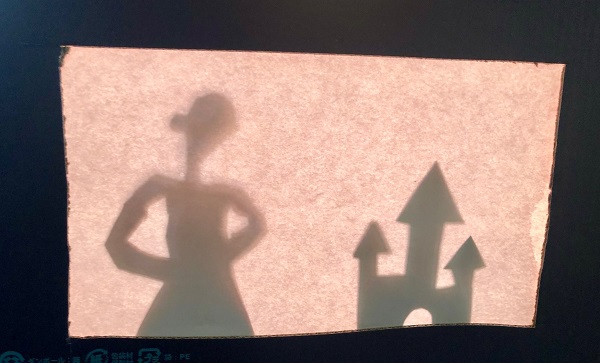
STEP 3: Cut your paper to fit in the shoebox bottom and tape it in place. You want the paper to fully cover the open space you cut out of the box. This is the shadow theater’s screen. (See above.)
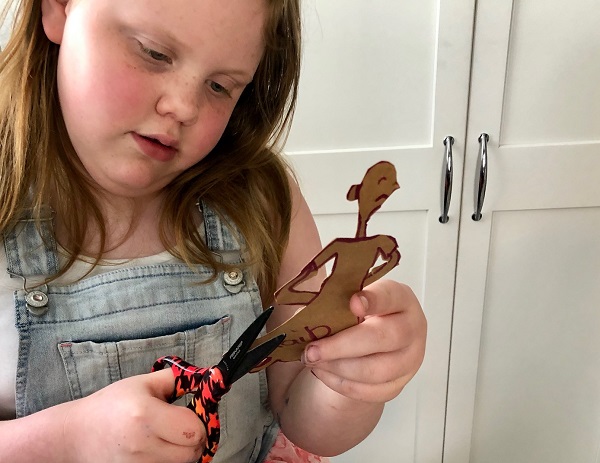
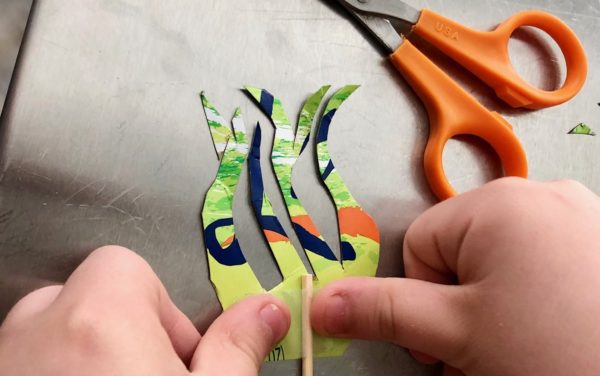
STEP 4: Now kids can begin drawing and cutting out their shadow characters and scenery. Remind kids that all the audience will see is a shadow, so there’s no worry about mistakes. If a foot is cut off accidentally, for example, just tape it back in place! Start by making the basic characters for your story and a few pieces of basic scenery — maybe a house or a tree. As your story progresses, clothing or props can be added as needed. You can even dream up additional characters.
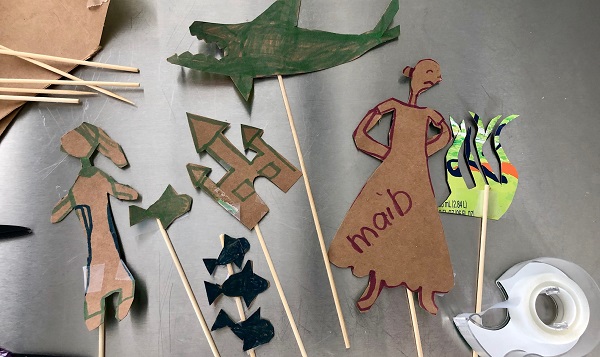
STEP 5: Tape the characters and props onto the bamboo skewers. When Sally’s grandkids did this project, they ended up with quite a collection, with two stories in the works. One was an underwater adventure and the other involved a princess. (See some of their creations below.)
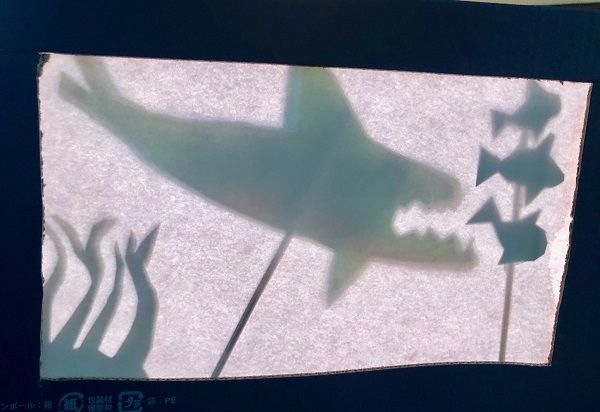
STEP 6: Now you’re ready for your first show! Place the theater on a table with the opening slightly off the edge of the surface, so there’s room to insert the shadow pieces. Set up a desk lamp behind the shoebox, shining into the box. Then insert the scenery and characters for the beginning of your story.
Dim the lights, draw the curtains and — it’s showtime!
