Maker Monday: Blooming Water Lilies
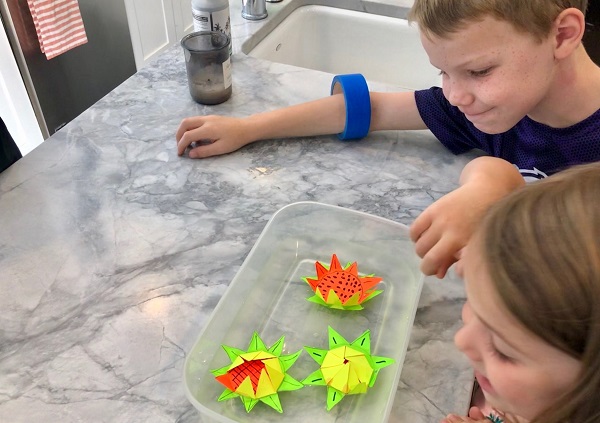
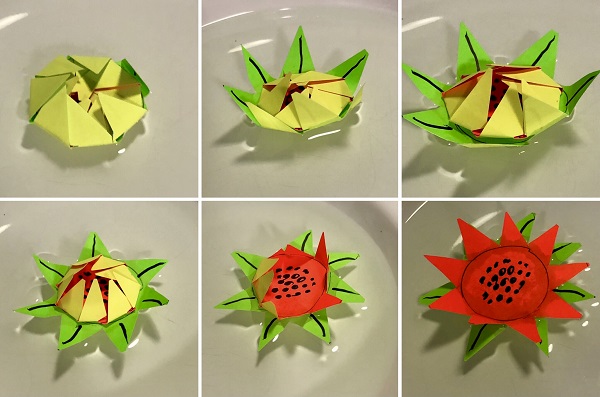
This week’s Maker Monday brings a little summer color to life. These Blooming Water Lilies are cool to make. Place them in a shallow bowl of water and watch them open right before your eyes.
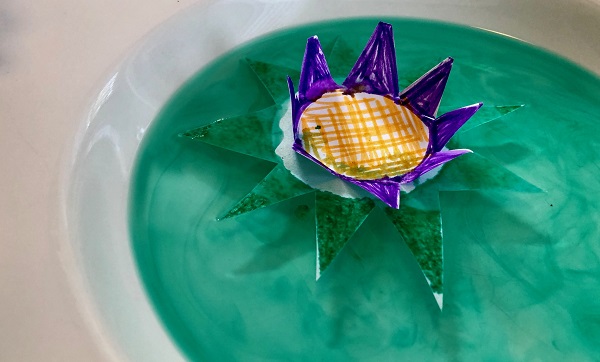
You can use plain white paper that kids color with markers or go for fun double-sided color paper. An exciting aspect of using white paper and markers is that the color slowly seeps into the water, giving the effect of natural pond water.
We know from experience that clever kids will take the basic idea and add their own spin to their creations.
Supplies:
Paper, white or double-sided color
Markers
Scissors
Shallow bowl
Water
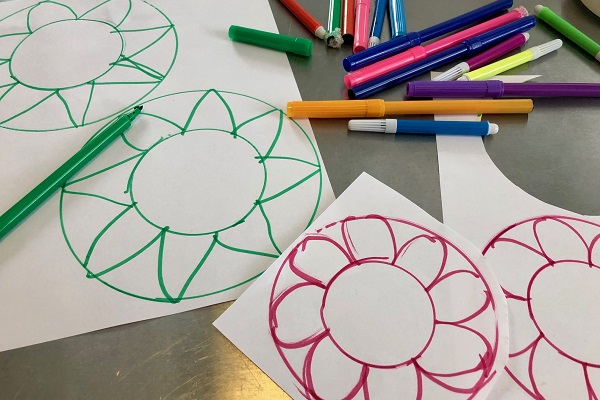
Find some circular objects to trace to make your water lilies. We used small pot lids, cups and a shot glass! For each water lily, you need two circles about 4 inches in diameter. Then trace a smaller circle in the center of the circles. Draw the leaves on one circle and petals on the other. Color and cut out to the center circle.
Once cut and colored, place the two circles on top of each other, with the green leaves on the bottom, facing up, and the flower petals on top.
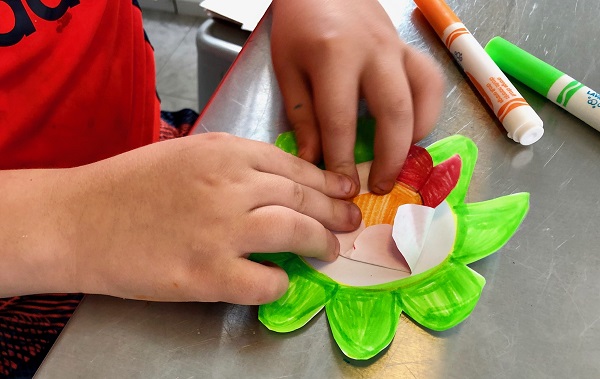
Begin folding the petals in along the small circle line. Next, fold in the leaves right on top.
Place the folded water lilies into a shallow bowl of water. As the paper absorbs the water, the folds open, first with the leaves, followed by the flower bloom.
When making Blooming Water Lilies with colored paper, we used a Sharpie to add definition to the leaves and the center of the flower. Once the flowers are fully bloomed, you can remove them from the water and set on a paper towel to dry and bloom again!
For more Maker Monday projects and other fun stuff for kids, visit the Kidsburgh Activities page.
