Maker Monday: Build a DIY robot that draws pictures!
Happy Monday, Kidsburgh families. This surprisingly simple and truly creative Maker Monday craft idea comes from Maureen Frew, maker education specialist at Avonworth Primary Center and the caring educator who inspired the #bethekindkid movement.
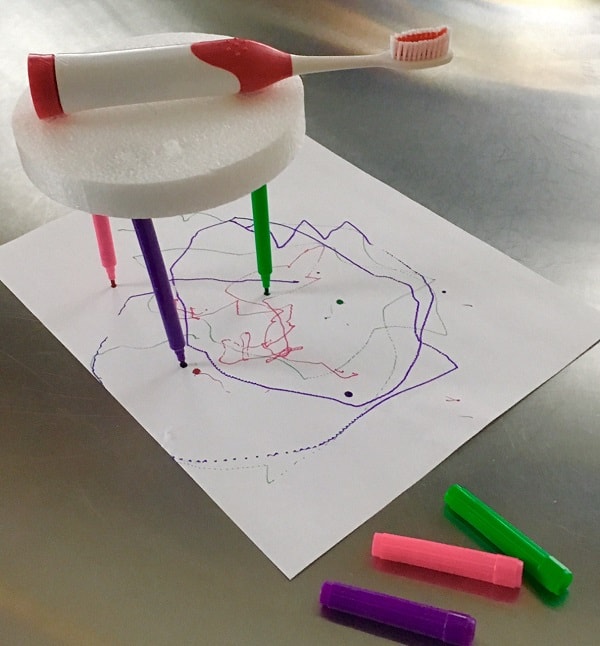
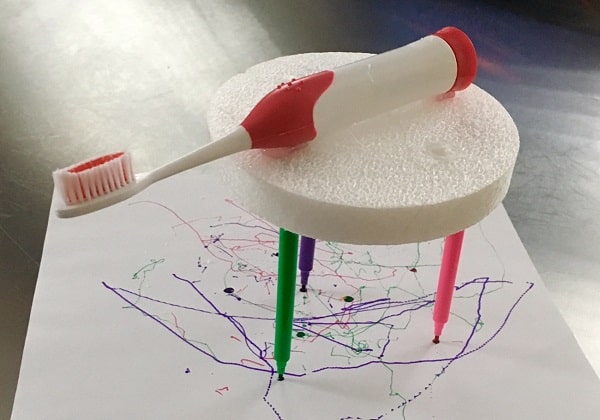
With this project, kids can create their own “drawbot” — a robot that draws pictures. As with all Maker Monday projects, the supplies you’ll need are things you may already have around the house or you can buy inexpensively at a dollar store or craft store.
A note to kid makers: Please work with a parent or caregiver on this Maker Monday project and always be very careful when using tools of any kind.
Maker Monday materials you’ll need:
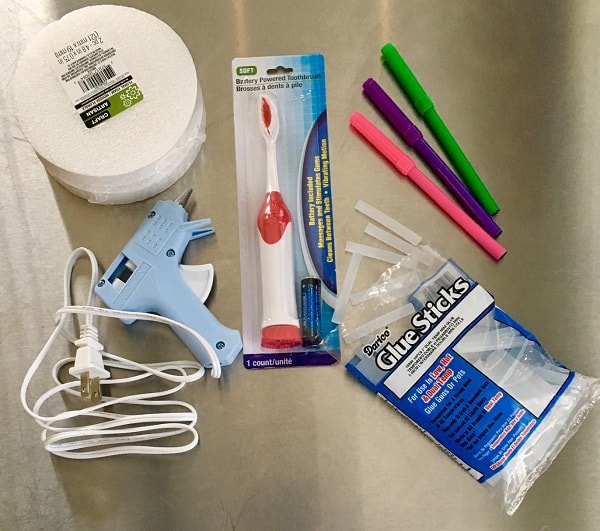
- 3 markers
- 1 round foam disk
- 1 electric toothbrush (it can be an old one you’re ready to throw away!)
- a glue gun and glue sticks (if you don’t have a glue gun, you can have an adult help you with super glue)
Maker Monday instructions:
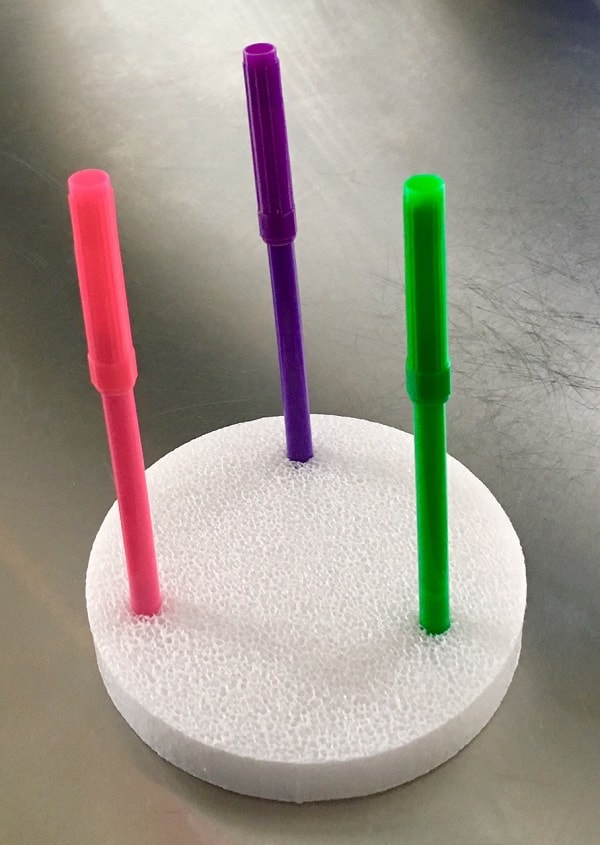
1. Push the flat ends of your three markers into the foam — but not all the way through — forming a triangle with the markers. These will be the supporting legs of your drawbot.
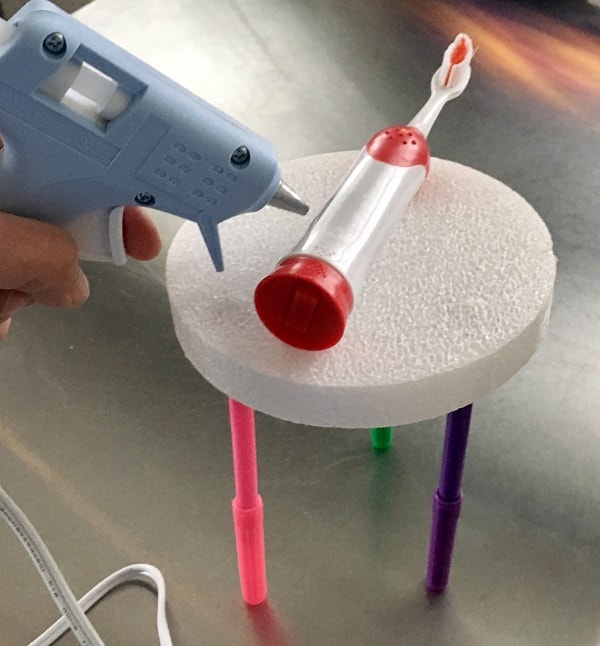
2. Turn the disc over and glue the toothbrush onto the top of the disc.
3. Take the caps off the markers and set your drawbot on a sheet of paper (the bigger the sheet, the more space your drawbot will have to create its picture). Turn the toothbrush on and watch your drawbot go, jigging and scribbling, buzzing and shaking across the paper! (If the markers are wobbly, you can glue them into place.)
