Maker Monday: Button Bowls
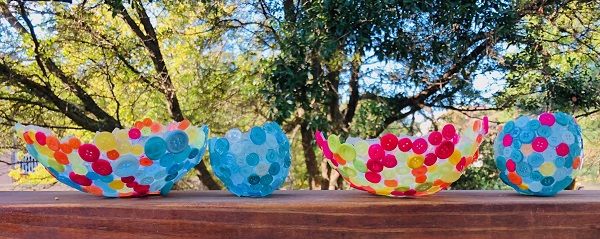
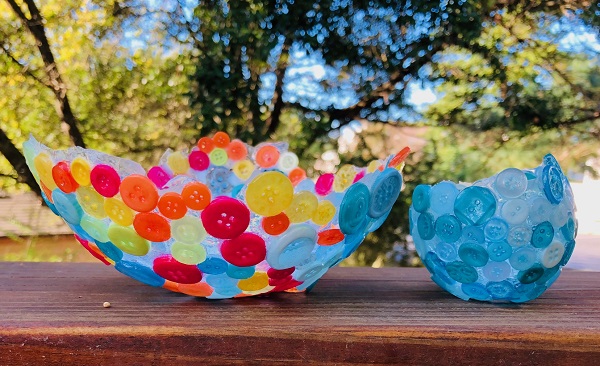
These Button Bowls add a bit of sparkle and color to the Maker Monday lineup. With balloons as the base, you can make your decorative bowls as big or small as you like.
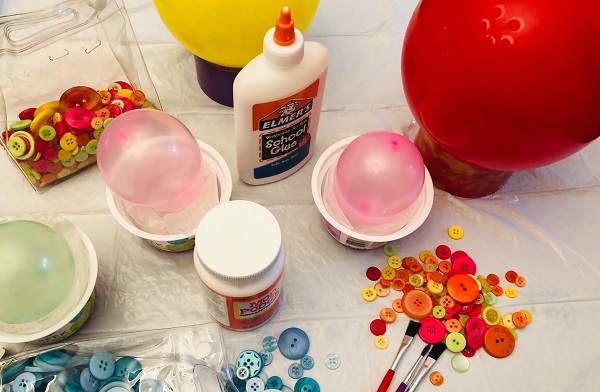
Pick up packets of craft buttons at a craft store or ask your grandmother if she has a button box you can raid.
Cutting the balloon is the fun part, but be sure the glue and Mod Podge is completely dry so your creation doesn’t collapse!
Supplies:
Balloons
Buttons
Elmer’s School Glue
Mod Podge
Paintbrushes
Scissors
Containers to hold the work in progress (We used empty yogurt containers and duct tape rolls, but you can use whatever is on hand, like a coffee mug.)
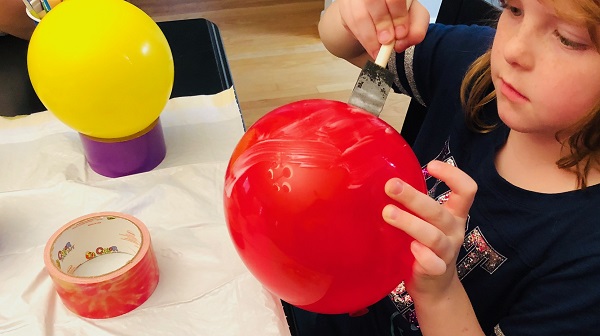
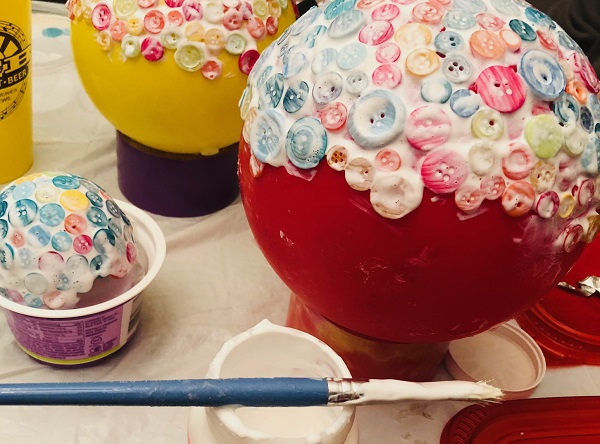
Set the balloon, tie down, on your container and paint with glue about one-third to halfway down, depending on the size of your finished bowl.
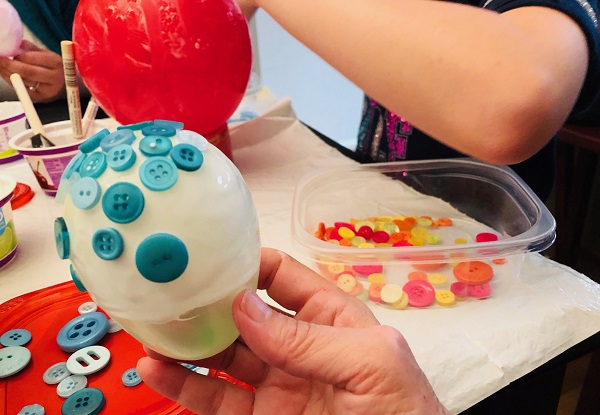
Give the glue about 15 minutes to dry slightly but still tacky, then begin to add buttons, brushing more glue on as needed. Keep the buttons as close together as possible.
Once your buttons are set in place, allow the glue to dry for a few hours. It’s a good time to look over the project and see if there are spots where tiny buttons can fill in any empty spaces.
Brush on Mod Podge to coat the buttons and spaces in between. Once dry, the Mod Podge will be clear. Allow to dry overnight or for 24 hours. Before you move onto that next step, be sure it’s completely dry.
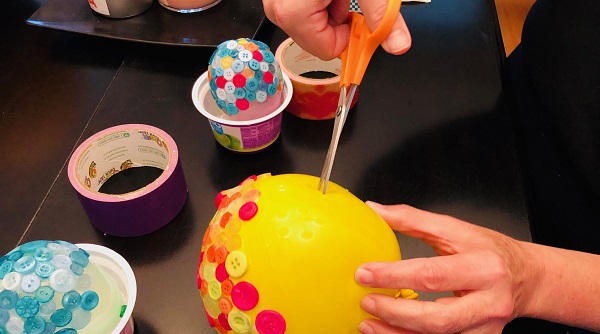
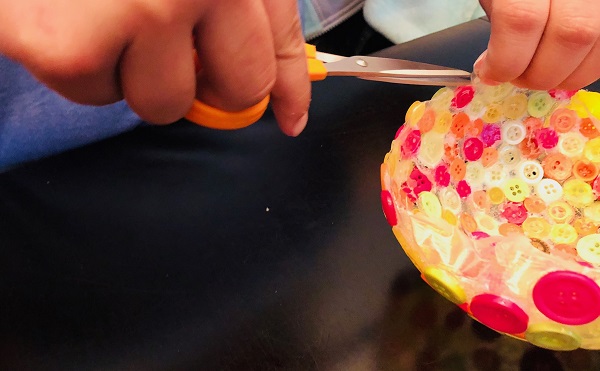
This is the cool part! Cut the balloon and watch how it shrinks and pulls away from the bowl. Carefully remove the balloon, gently pulling it away from any spots where it remains connected.
Trim the edges where the Mod Podge is hanging.
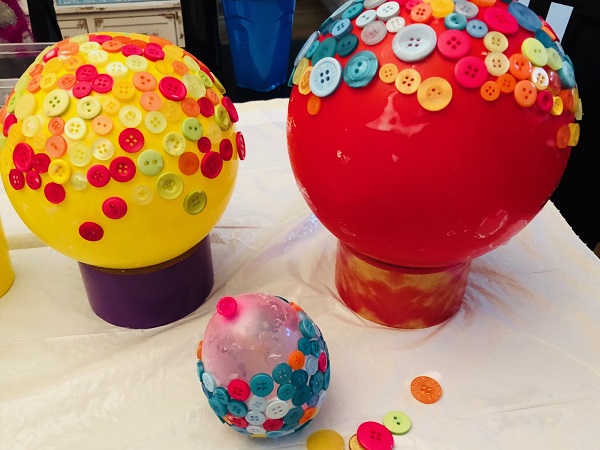
And there you have it, a pretty bowl suitable for standing alone on a shelf, holding keys or jewelry. Set a battery-operated tea light in a smaller bowl for an even lovelier touch.
For more Maker Monday projects and other fun stuff for kids, visit the Kidsburgh Activities page.
