Maker Monday: Here’s how kids can make watercolor paints from old markers
Ready for another Maker Monday activity? We’re back with another “Let’s Try” video, created by our friends at the Children’s Museum of Pittsburgh. We’re glad to kick off the week by bringing you this free maker activity.
This week’s project will teach kids to make watercolor paints with items you probably have around the house.
You’ll find all the details on materials and instructions right here, and you can follow along on the video below to learn each easy step. A note to kid makers: Please work with a parent or caregiver on every project and always be very careful when using tools of any kind.
Maker Monday materials you’ll need:
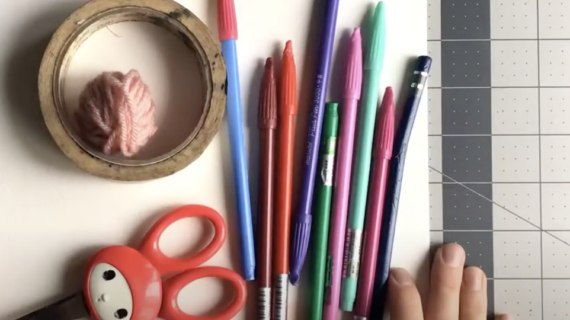
- dried out washable markers
- scissors
- pliers
- 3 to 4 tablespoons of water for each color (in separate cups for each color of paint)
Instructions:
- Use the pliers to remove the felt tip of the marker. Drop the tip into one of your cups of water.
- Use the pliers to take off the “cap” to access the rest of the dried marker. (This piece may be on the bottom of the marker or may be on the top.)
- Use the pliers to pull out the foam insert inside the marker and use the scissors to cut it into pieces.
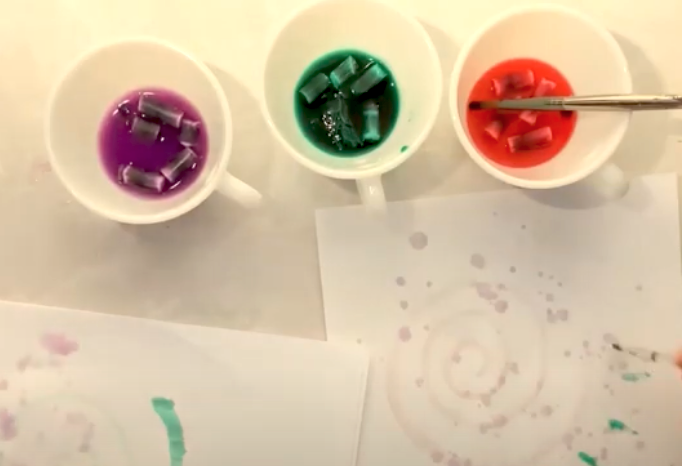
- Drop those pieces into the cup where you put the marker tip.
- Repeat this process with as many old markers as you want.
- Be creative! You can mix different color marker pieces together in one cup to create unique colors.
- Let your paints sit for 5 to 10 minutes to create strong colors.
- Now have fun: Get some paper and paint brushes and try your new paint!
Quick Maker Monday tip: If the paints dry out overnight, just add some more water the next day.
Want more at-home fun making beautiful things and learning? Check out more Maker Monday projects right here.
