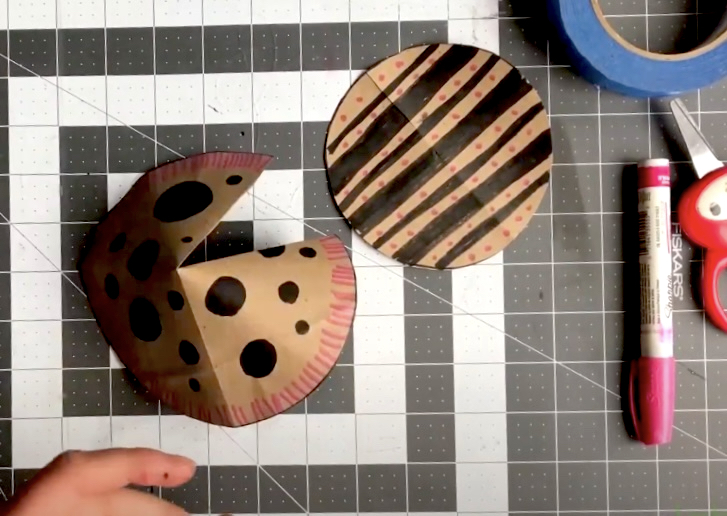
Maker Monday, holiday edition: Let’s try making party hats!
Happy 4th of July weekend, Kidsburgh families. We’re bringing you a super-festive version of Maker Monday in honor of our nation’s birthday — and we’re publishing it a day early, so your kids have the holiday weekend to enjoy it.
This week’s fun and easy “Let’s Try” Maker Monday project, created and filmed by our friends at the Children’s Museum of Pittsburgh, teaches your child to make party hats from simple materials you likely have around the house. You’ll find directions below and you can follow along via video to see all the steps.
A note to kid makers: Please work with a parent or caregiver on every project and always be very careful when using tools of any kind.
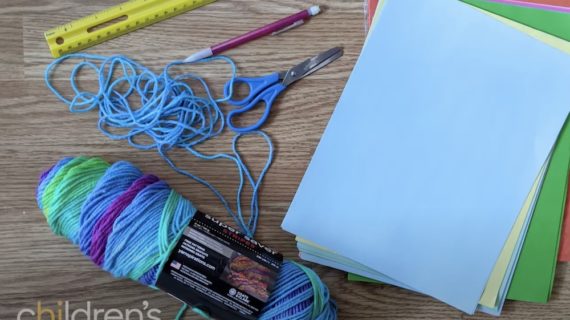
Maker Monday materials you’ll need:
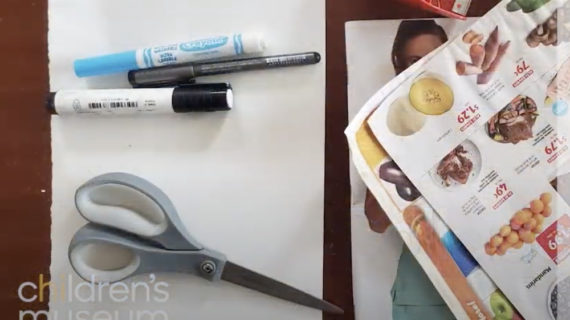
- paper
- string
- markers or crayons
- scissors
- something circular to trace
- tape or glue
Instructions:
- Trace your circular objects to make templates for your hats. The larger the circle you use, the larger your hat will be.
- With scissors, cut out your circles.
- Fold each circle in half, then fold it in half again the other way (see video).
- Unfold it and cut along one of the fold lines just to the center of the circle.
- Then decorate your circle using your markers or crayons. (You could even glue on some glitter, if you have some!)
- Shape your circle into a cone by pulling one side of the cut paper to the other side. Secure it with tape.
- Take a long piece of string and tape it to the inside of the hat to use as a chin strap.
- Using scissors, cut open the loop of string so you can tie it under your chin.
Want more at-home fun making beautiful things? Check out more Maker Monday videos here, kindly shared with us by our friends at the Children’s Museum of Pittsburgh.
