
Maker Monday: Kids will love creating with ‘shoebox marble painting’
Sometimes an art-making method is as creative as the finished product. This fun Maker Monday activity — Shoe Box Marble Painting — gives kids a new way to make art. Marbles roll through paint, working their magic by creating unexpected designs. The finished effect resembles tie-dyed fabric.
Like all Maker Monday projects, you can do this with items you may have around the house or can get at a dollar store. Kids can experiment with different shapes and color combinations to create more personalized paintings. Or they can begin with colored paper instead of white for a different background.
This project comes to Kidsburgh from Lauren Kimicata, a preschool teacher at Carriage House Children’s Center in Squirrel Hill.
A note to kid makers: Please work with a parent or caregiver on this Maker Monday project and always be very careful when using tools of any kind.
Maker Monday materials you’ll need:
- a shoebox or other small box that you can close
- two or three marbles (or more, if you’d like!)
- any kind of paint
- disposable spoon or fork
- paper (preferably something thicker like card stock or construction paper, but any paper will work)
- scissors
- a photo of the child (optional)
Maker Monday instructions:
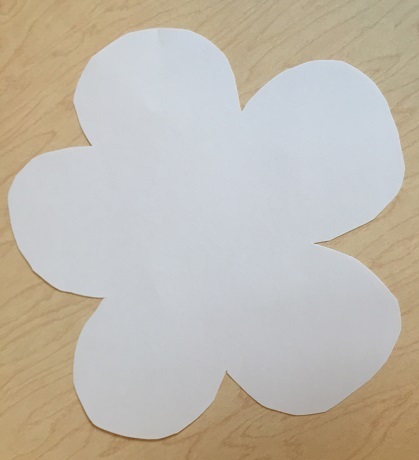
Step 1: Cut out any shape you’d like (we chose a flower for the example below) from a sheet of paper.
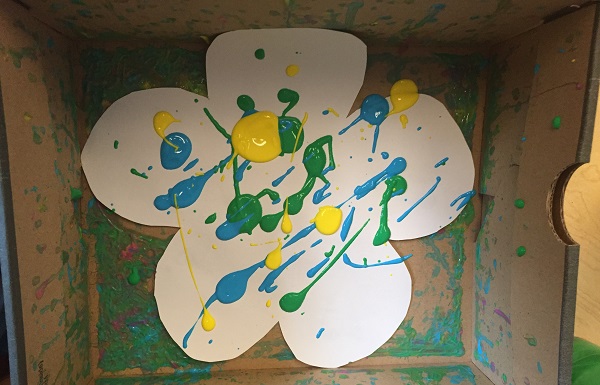
Step 2: Place the cut piece of paper in the shoe box. (You can put one small piece of tape behind it to hold it in place, if you’d like.) With your disposable spoon or fork, plash a few small blobs of different colored paint on top of the paper. (You don’t need much.)
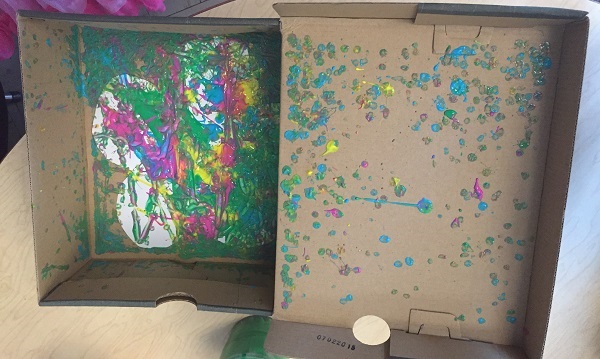
Step 3: Place two or three marbles on top of the paper, then close the shoebox lid. Holding the box closed, move the box to roll the marbles around. Once the marbles have rolled around for a few moments, take a peek inside. Do you love your design or want to keep working on it? You can keep adding paint and rolling the marbles around as desired.
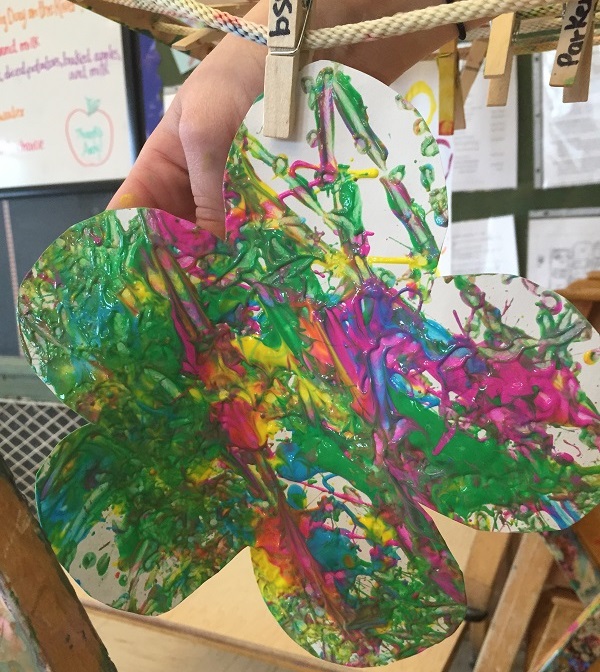
Step 4: Remove the paper from the box and hang it up to dry.

Optional step 5: Once the paper is dry, cut out a photo of your child and glue it to the center of the painting.
Want more at-home fun creating cool stuff and making beautiful things? Check out more Maker Monday projects right here.
Do you have an idea for a Maker Monday craft project? If so, please share it with Kidsburgh! Send your maker activities to info@kidsburgh.org.
Related Stories
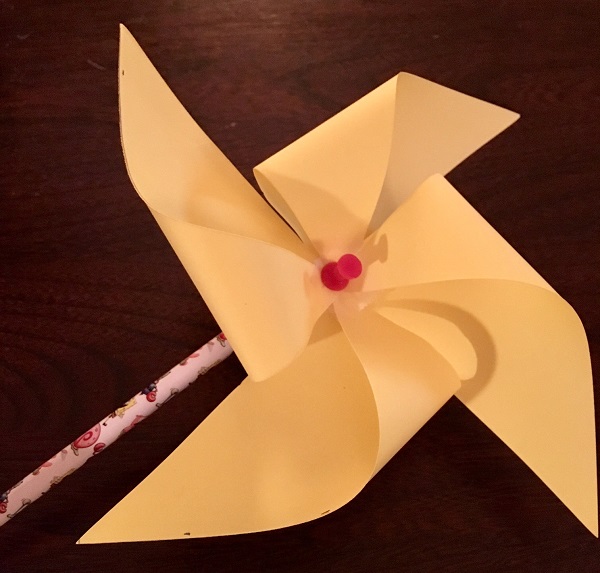
Maker Monday: Kids can make their own pinwheels
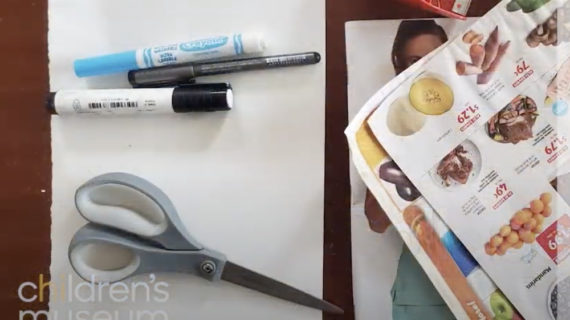
Maker Monday: Kids can get creative today with this collage project
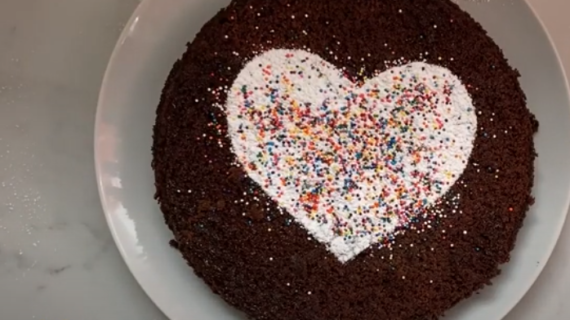
Maker Monday: Baking a cake with kids is a sweet way to teach math and more
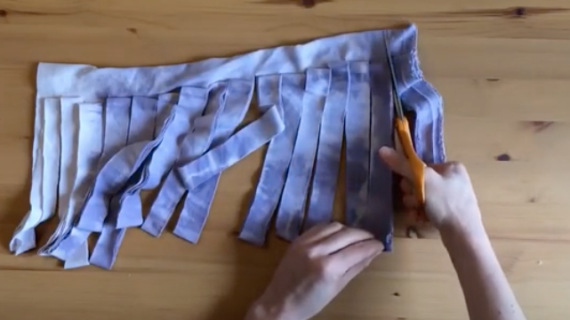
Maker Monday: Kids can make “t-shirt yarn” and get creative with it

Maker Monday: Kids can create beautiful art by quilling. Just follow the video!
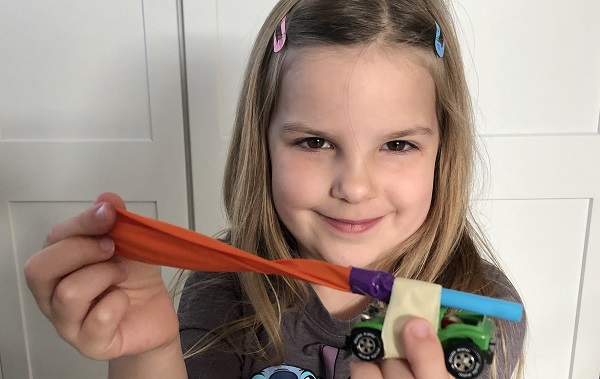
Maker Monday: Kids can make these fun, balloon-powered racers
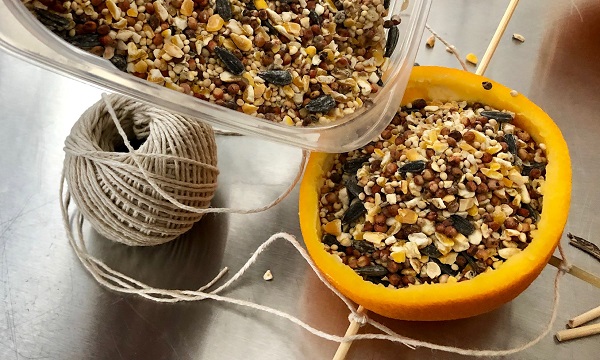
Maker Monday: Kids can make these easy, orange peel bird feeders
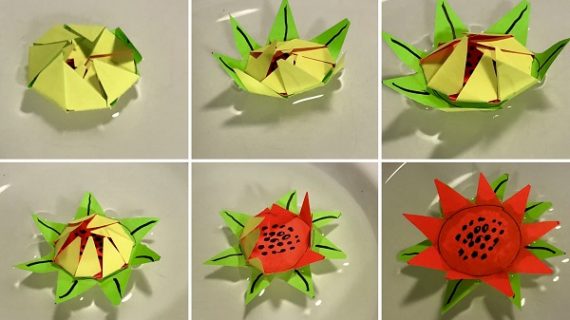
Maker Monday: Pretty paper water lilies will ‘bloom’ when kids put them in water
Maker Monday: Kids can make easy, fun confetti poppers
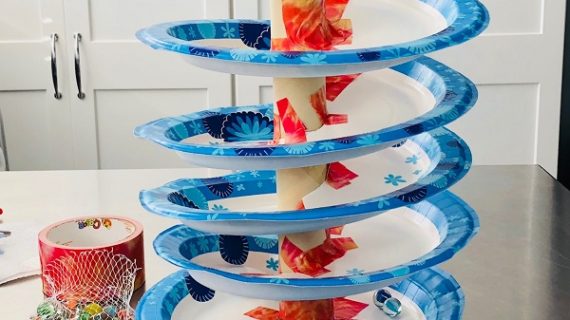
Maker Monday: kids can create their own super-fun marble run
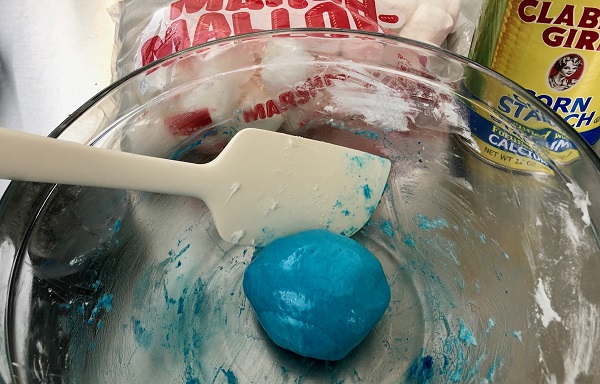
Maker Monday: Make your own homemade marshmallow play dough
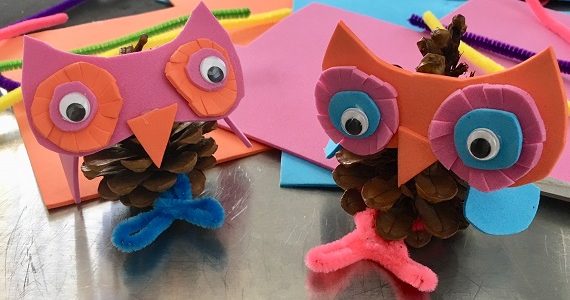
Maker Monday: Kids can make adorable pine cone owls
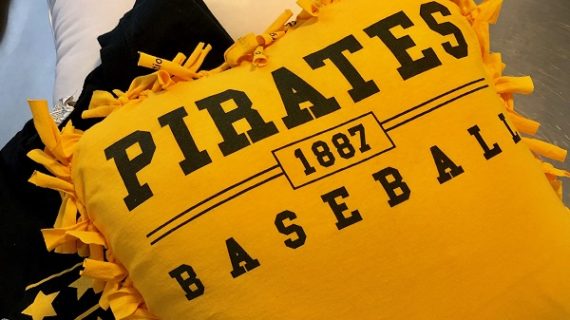
Maker Monday: Kids can make a no-sew pillow celebrating their favorite sports team
Maker Monday: easy, scented bath bombs
Maker Monday: Kids can make their own puffball race track
