Maker Monday: Let’s try making a piñata
We’ve got a fun Maker Monday craft project for you this week, Kidsburgh families. This colorful “Let’s Try” DIY project comes courtesy of our friends at the Children’s Museum of Pittsburgh, who have a slew of creative projects just like this on their Youtube page.
This week’s project gives your child all the steps to make a piñata from items you likely have around the house. You’ll find the instructions and materials you need listed below and you can follow along with the video to see the whole project in action. The piñata you’ll see made in the video looks like a birthday present, but you can use these steps to make a piñata in any shape you’d like.
A note to kid makers: Please work with a parent or caregiver on every project and always be very careful when using tools of any kind.
Maker Monday materials you’ll need:
- thin cardboard box (like an empty cereal or cookie box)
- tape
- shredded paper
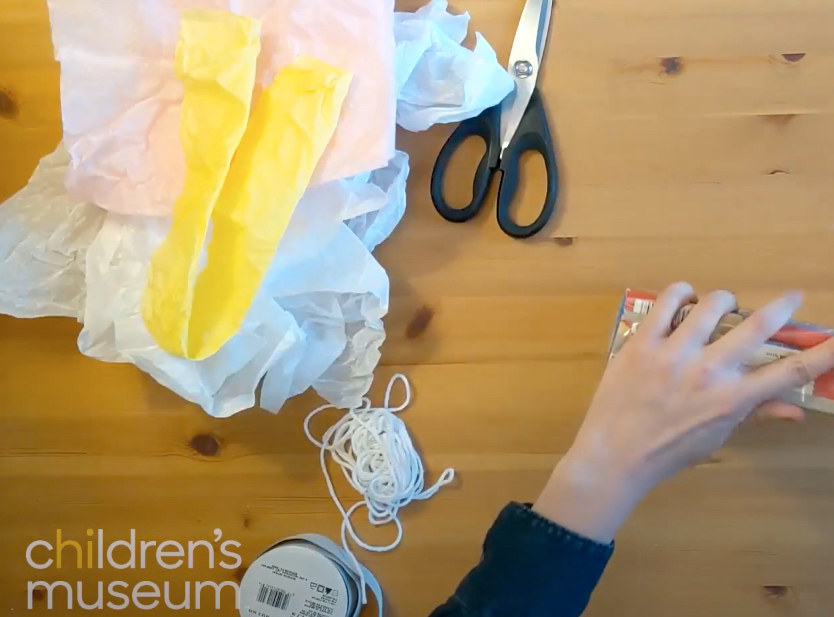
- decorations for the outside of the piñata (tissue paper, markers, paint, etc.)
- string
- scissors
- fun things to put inside your piñata (candy or other small items)
Instructions:
- Fill your cardboard box with the items you want inside and some paper cut up into confetti
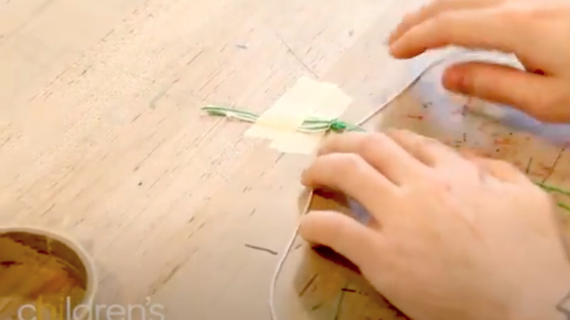
- Tape the box shut and tie some string around it. Then tape over the string to make sure it stays on.
- Use things like tissue paper and other art supplies to decorate the outside of the box in any way that you would like.
- Then take it outside, hang it up and have fun breaking it open!
Want more at-home fun making beautiful things? Check out more Maker Monday videos from Kidsburgh and the Children’s Museum!
