Maker Monday: Let’s try making “junk mail flowers”
Happy Monday, Kidsburghers! Welcome to another fun and easy “Let’s Try” Maker Monday project, courtesy of our creative friends at the Children’s Museum of Pittsburgh. We’re glad to be kicking off another week by bringing you a free maker activity that your kids can do with items you likely have around the house.
This week’s project will encourage your little ones to get super-creative by making flowers from any paper you have handy, including junk mail. (Yay for upcycling!) You’ll find all the details on materials and instructions right here, and you can follow along on the video below to learn each easy step.
A note to kid makers: Please work with a parent or caregiver on every project and always be very careful when using tools of any kind.
Maker Monday materials you’ll need:
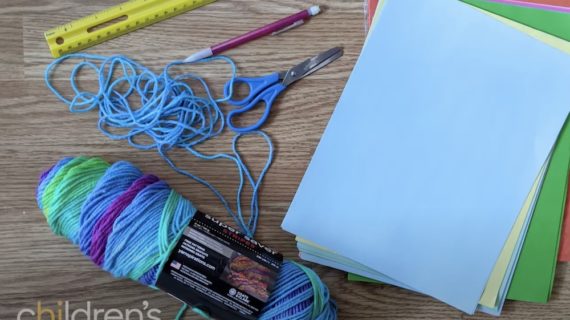
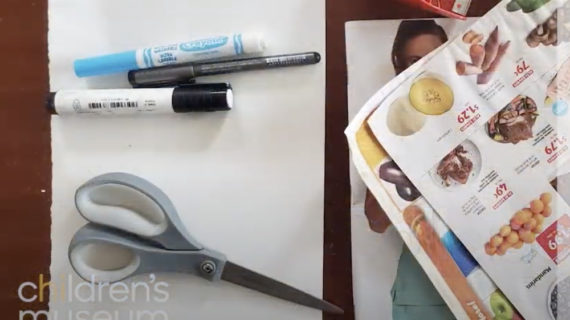
- junk mail
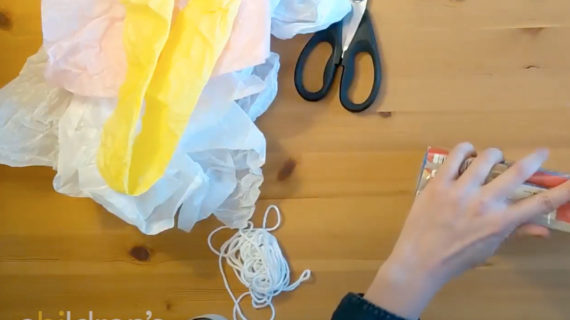
- scissors
- a pen or marker
- disposable chopsticks (or other long thin sticks to use as stems)
- tape or glue
Instructions:
- Make a template for your flowers by cutting a square piece of thick paper or cardstock. You can use a ruler or a piece of scrap paper to measure a square.
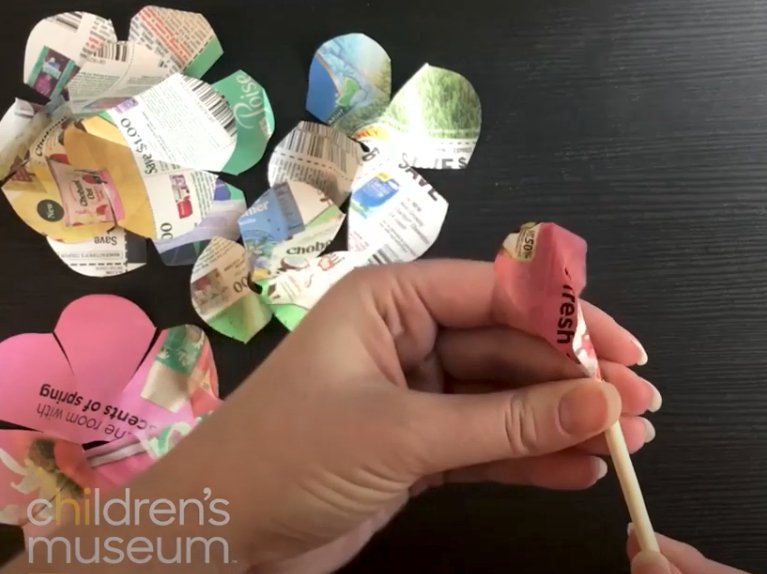
- Use the template as a guide to cut 4 squares out of colorful pieces of junk mail.
- Fold one square in half and then fold it in half again. Then fold it diagonally in half to make it into a triangle. (See video.)
- Repeat this process with the other three squares.
- Use your pen or marker to draw a rounded petal shape on the non-folded edges of the triangle.
- Use your scissors to cut along your rounded petal shape.
- Unfold the triangle to see a flower. Then fold your flower back into a triangle and use it to trace and cut out the other 3 flowers.
- Notice how each flower has 8 petals. Cut out one of the petals on one flower. Then cut out two petals on another flower, and cut out three petals on another flower. Cut the last flower in half (set aside one of the halves).
- Now organize your flowers from 1 through 7 petals.
- Wrap the rounded edge of the single petal around a chopstick or pen to curl it slightly. Then create a small “cup” by taping together the flat sides of the single petal.
- Repeat this curling and taping process with the remaining petal sets. (Quick tip! When curling the petals of larger sets, it helps to make small cuts along the petal folds.)
- If you need to, snip off the bottoms of your petal sets so that your “stem” fits inside.
- Place your single petal onto a “stem.”
- Add the remaining sets of petals (from 2 through 7) from the bottom up on the “stem,” using tape as necessary to secure the petals.
- Use a pen to touch up the curls on the edges of the petals if they’ve become too flat.
Want more at-home fun making beautiful things? Check out more Maker Monday videos from Kidsburgh and the Children’s Museum.
