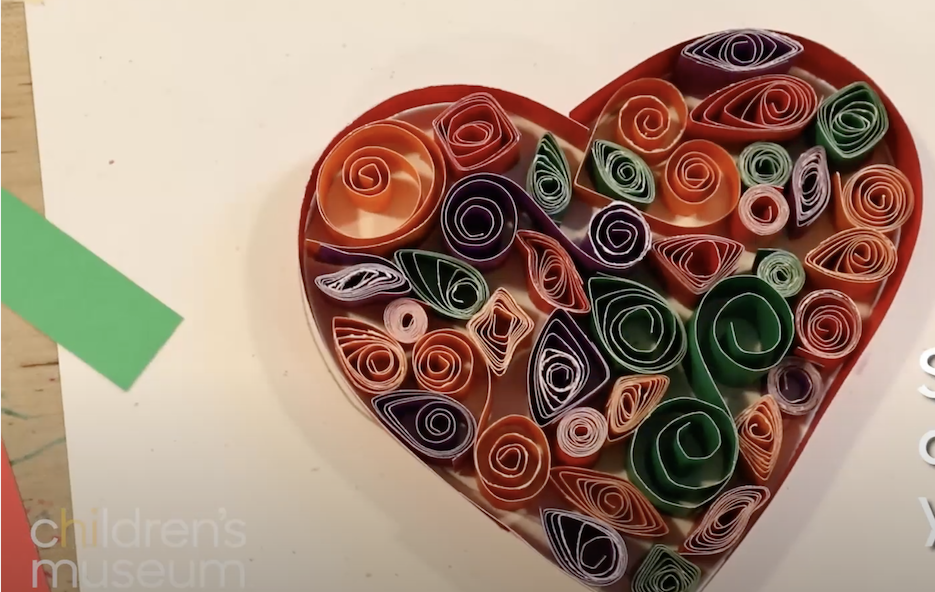
Maker Monday: Let’s try quilling with this easy video
Happy Monday, Kidsburgh readers! Here’s another installment of our Maker Monday “Let’s Try” videos, created by our friends at the Children’s Museum of Pittsburgh. We’re excited to bring you this free maker activity.
This week’s project will get kids started quilling, which is an easy and beautiful way to make gorgeous designs with colored paper. You’ll find all the info on materials and instructions right here, and you can follow along on the video below to learn each easy step.
A note to kid makers: Please work with a parent or caregiver on every project and always be very careful when using tools of any kind.
Maker Monday materials you’ll need:
- strips of colored paper
- one piece of white paper
- tape
- glue stick
- pencil
Instructions:
- tape down the piece of white paper
- draw the outline of your design
- use your fingers to lightly curl one of the colored strips of paper
- use the glue stick to put glue on one edge of the strip of paper
- place the strip of paper on top of your design’s border
- repeat until the border is covered
- tightly roll up another strip of colored paper into a spiral
- put glue on the bottom of your spiral and place it inside the border of your design.
- repeat this process with different strips of paper until your design is filled.
Quick tip: There’s no wrong way to spiral your paper. It can be tiny and tight or larger and loose or anything in between, and it can form all different shapes. So get creative!
Want more at-home fun making beautiful things? Check out more Maker Monday videos from Kidsburgh and the Children’s Museum.
