Maker Monday: Salt Painting
Maker Monday loves creating art with a variety of methods and media. This week, we experiment with Salt Painting.
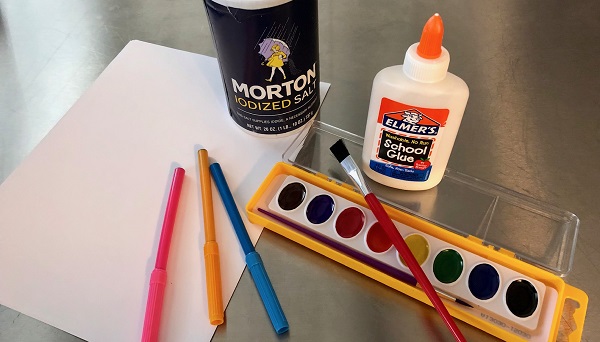
This inexpensive project uses just a few main products most families already have on hand: Salt, school glue and watercolor paints. All of them can be found at a nearby dollar store.
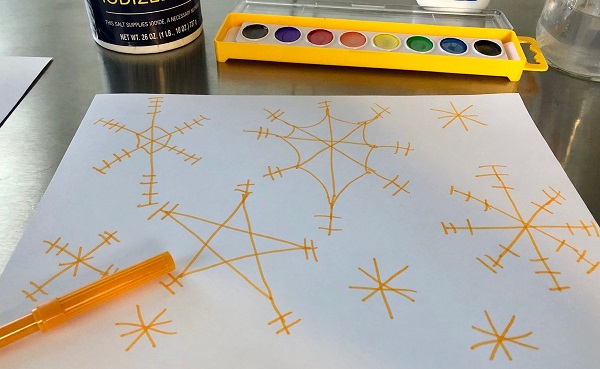
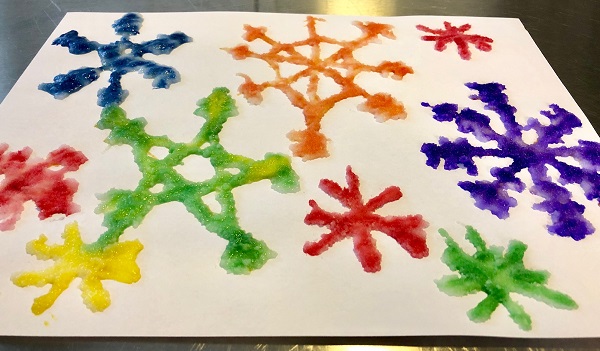
We went with snowflake designs because we love how the salt adds shimmer and shine to the final masterpiece. But you can feel free to play with your original designs. An underwater scene, for example, could look cool!
Supplies:
Salt
Watercolor paint
School glue
Pencil or marker
Paper
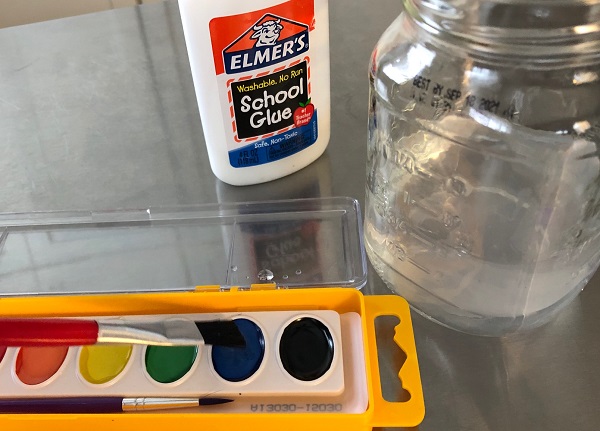
Drop water onto your paints now to give them time to dissolve. You want them to be very wet when it comes time to do the painting. Continue to add water as you work.
Sketch your design onto the paper.
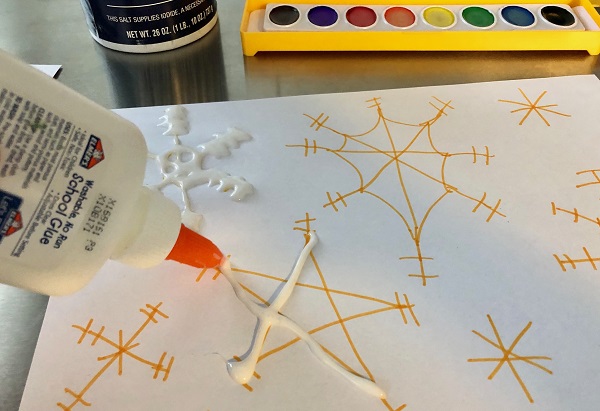
Use the glue to “trace” over the lines.
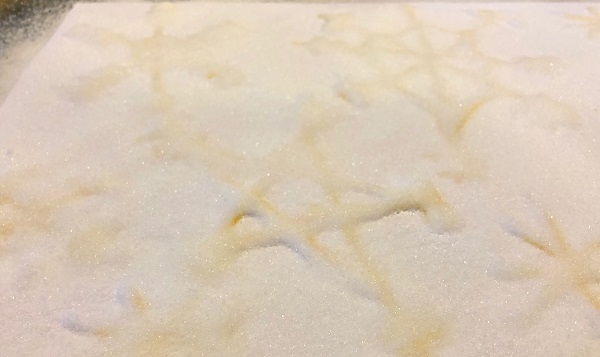
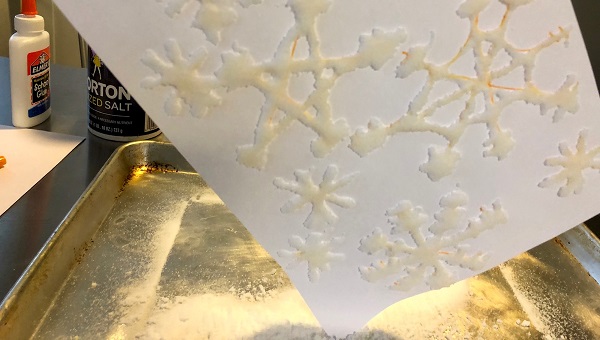
Time to add the salt. You want to use a lot — not just a sprinkle — to cover all sides of the glue. You practically bury the glue design. Note: We did this step in a cookie sheet to prevent salt from spilling out on the floor.
Pick up the paper by a corner and gently shake to remove the excess salt. Look at how pretty the snowflakes look already!
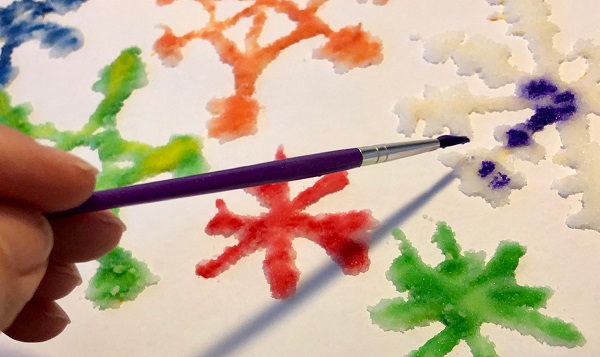
Add the very wet paint by drops and dabs onto the salt snowflakes. The paint gets quickly absorbed into the salt and spread. Continue to add water to the paint add you go. Do not touch the salt until fully dry.
For more Maker Monday projects and other fun stuff for kids, visit the Kidsburgh Activities page.
